Writing, compiling, and debugging code is easier if you use a integrated development environment (IDE), such as NetBeans.
To use MercuryDPM with Netbeans:
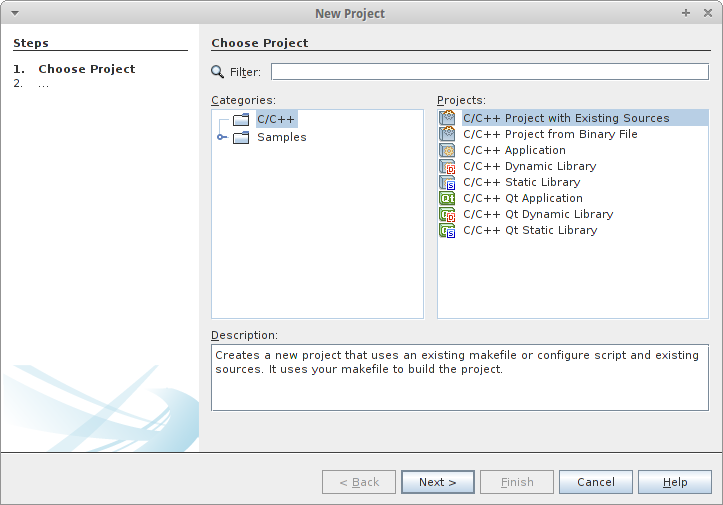
Choose a 'C/C++ Project with Existing Sources' (default)
- Select C/C++ -> C/C++ Project With Existing Sources and click Next.
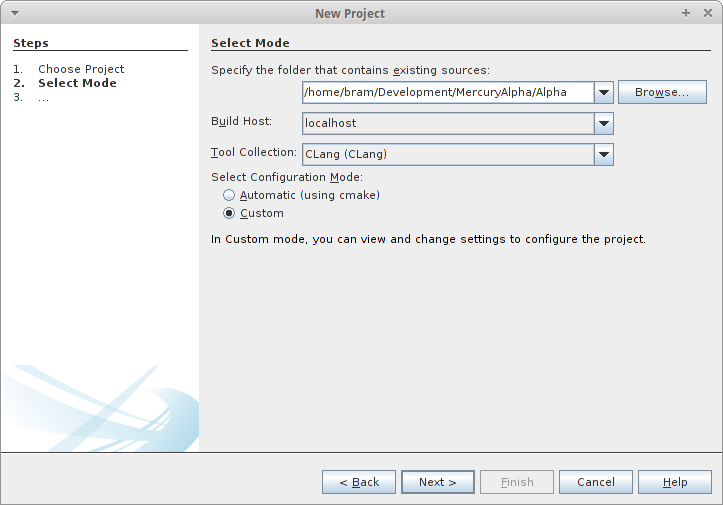
Specify source location and compiler
- As source, specify the folder which contains the Mercury source files (e.g., ~/MercuryDPM/MercurySource); at 'Tool Collection', specify the C++ compiler you want; select Custom configuration mode and click Next.
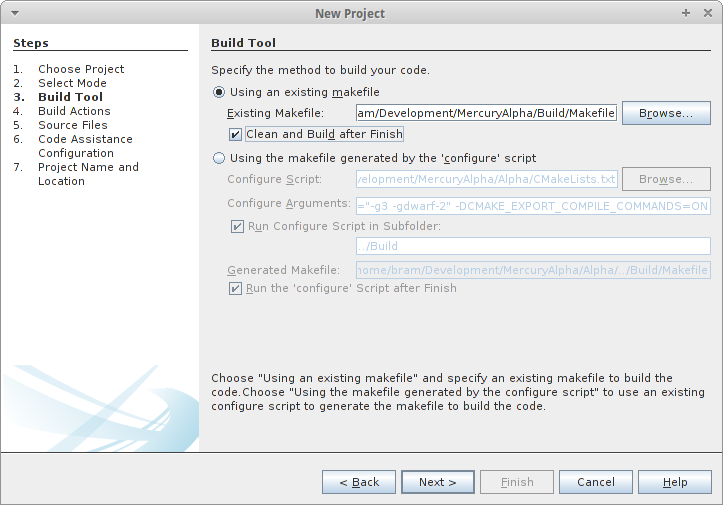
Specify existing Makefile
- If you already created a build directory, choose Use existing Makefile and select the Makefile in your build directory (e.g. ~/MercuryDPM/MercuryBuild/Makefile).
Alternatively, if you do not have a build directory yet, select Run configure script in subfolder, select ../MercuryBuild as subfolder.
Click Next .
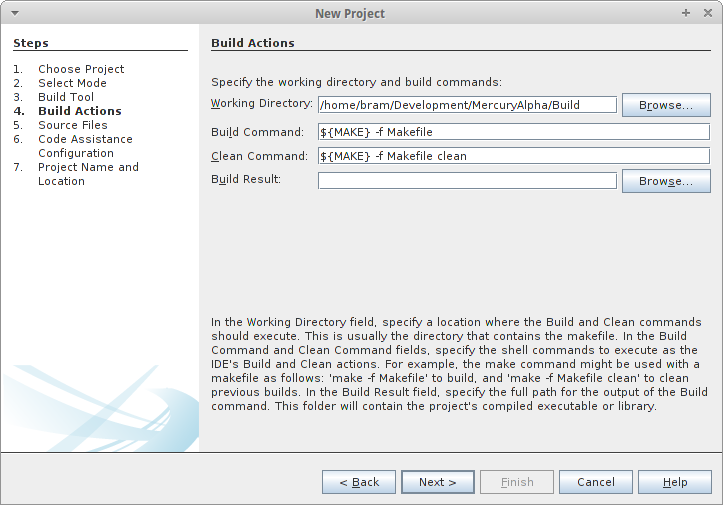
Specify Build directory as working directory
- Specify your Build directory (e.g. ~/MercuryDPM/MercuryBuild) as your 'Working Directory', and click Next.
- Click Next until you reach the section 'Project Name and Location' (the last section). Make sure you choose the project name (only used in NetBeans) such, that the Location is NOT directly your Source or Build directory. This is the location where your NetBeans configuration files end up. You could pick, for example, 'MercuryDPM_nb' as a name.
- Click Next repeatedly until the button gets disabled.
- Finally, click Finish.
Now your project will be set up, which will take a few minutes. After that, you are ready to go.
 1.8.7
1.8.7 
